Day Ninety-Six
Geez -- what a long day. My sister and I were half-supposed to run a few errands but they were pushed over to Monday instead and that left me with several "extra" hours and I was determined not to squander them. Me being me, I ended up overcompensating and I worked pretty much straight through from around 11 to 11:45 with only a couple of short breaks.
Main Project -- really long horns guy.
I need to get this guy completed...one way or another...even if I end up not submitting him for anything.
 |
| Before -- as he looked at the beginning of the day, ready for the next steps. |
 |
| I have all of these little tester pots of paint that I would really like to use. I think the problem is having too many choices, and I simply couldn't settle on a main color. |
Another of today's projects: Grammy needs to be worked on and then finished.
 |
| Grammy has a few structural problems... |
 |
| This arms has a hairline fracture all the way around -- the other arm may also need attention. |
 |
| Grammy's tail has to be reattached, too. |
 |
| And really, she could use a couple more layers of plaster cloth on her dress...plus I am not sure her face is done. So that felt like waaaaay too much to do today. |
More projects/distractions that need attention:
 |
| This really tall rabbit guy -- but I need some preliminary help from someone with tools...shelved (again). |
 |
| The croc-guy and the tiger-guy -- both too much for today...shelved. |
 |
| The goat-guy and the working dog...yeah, well...shelved. |
 |
| The hatchling-guy...this is a doable project but too much for today...shelved. |
Another project (nearly finished but in avoidance mode): the bear-like guy with the long claws. Actually, this guy originally started out here and here as a sort of Universal Remonster. That was all the way back in early 2012. He progressed and at some point he got his long legs and base but I can't seem to locate those posts, and he makes it to here and then I got tired of looking for more.
 |
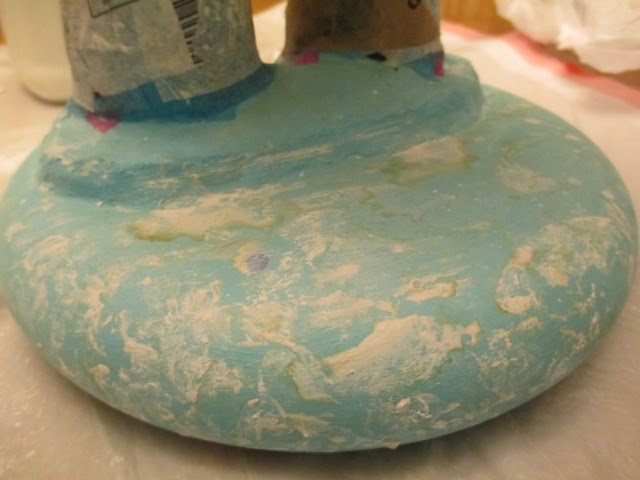
| Really, all this guy needs is to have his base finished off and then have his face area tweaked a bit...and maybe some sort of varnish overall to protect the surfaces. |
 |
| What I have been stalled about -- the decorative metal strip with raised half circles. Time to commit. Choose a color and get to work! |
 |
| One of the tester pots of paint ("blueberry") looked pretty good...but it will need several coats. |
 |
| After the first coat...now to dry. |
Another project: the robot-y guy.
 |
| I made the fired ceramic head a long time ago...back when I was still living in Southfield and going to a ceramics "class" through Parks and Rec. He was basically leftover clay that ended up in that shape -- I was practicing with underglazes and had no specific finished item in mind when I worked on the head. (I made 3 or 4 heads during that session.) The thing is, I like robots just fine but I don't really make robots myself...I prefer to buy ones that someone else creates. (Juana is the robot person.) I pulled out the drawer of little wooden shapes to find a way to finish this guy's look. |
 |
| Again...too many choices...and I half-liked them all... |
 |
| ...same game pieces... |
 |
| ...or maybe these little wooden bowls... |
 |
| ...yeah...I like them... |
 |
| ...but hey...one could go on top of his head, too...but how to finish that off... |
 |
| ...with one of the sawed-off balls from his original hand/arm pieces...in the bowl... |
 |
| ...on top of the upside down bowl... |
 |
| ...oh, wait...how about stacked bowls for ears...hmmm... |
Robot-y guy project, stage two.
 |
| Okay...add the stacked bowls as ears...oh man...he's not a robot after all... |
 |
| ...and cover up the robot face...he's a creature guy... |
 |
| ...maybe he needs a nose/muzzle... |
 |
| ...eh...nope...hey, this thing snaps right off... |
 |
| ...turned around with the old back being the new front...now he looks (in person) like he has more like "gonna get you" hands rather than "maybe I could fly" hands... |
 |
| ...and of course he needed a little tail (that had to be really really reinforced and solid)...now he is ready to dry for a while. |
Back to the bear-like creature: committing to a finish for the metal strip on the base.
 |
| [Gasp] -- I actually found the original paper scraps and I think they will cover that metal strip much better than paint. |
 |
| Done...but very wet with matte medium...I hope it dries well. |
 |
| It dried great! I am very happy with the base now...it will definitely need some sort of protective varnish, though. |
 |
| Next up (but not today) tweak his face and claws and add the varnish and he's done! |
Back to the really long horns guy.
 |
| Gah...choosing a color...too many paint choices/hate painting the main body...maybe cover him with paper that I have in abundance...but what color, dammit? Too red... |
 |
| ...too yellow... |
 |
| ...I like this pale purple/pink that has gold inclusions...but no, it will make me think of plain skin...like his hair fell off and only pink skin remains... |
 |
| ...I have a lot of this paper...and I could paint on top of it for decorative stuff... |
 |
| ...just GO for it...tiny pieces...it takes forever to cover areas well...I was almost upside down in my chair to work on the underneath parts... |
|
|
|
|
 |
| ...this was a good break point...finished applying paper in tiny pieces all the way around up to his neck. | | |
|
|
|
 |
| Back to work after cooking and eating dinner...I started around the eyes... |
 |
| ...and then filled in small sections... |
 |
| Too bad this photo doesn't show how I was seeing his face...he looked like he really trusted me...LOL |
 |
| DONE -- with the paper layer...(I think). I wasn't sure I wanted to paper his ears and fingers or if I just want to paint them...better to get the paper on while he is in this stage...I can always paint over it. I know I want to/will have to paint his facial features and his horns (at least). |
 |
| Ta-daaaa -- the three guys together. |