Showing posts with label plaster cloth. Show all posts

Sunday, May 11, 2014

Day 131 - 365/2014

Day One Hundred Thirty-One

Yikes!  I checked the time and it was already 11:30 -- no time for a second try with the plaster cloth project!  Must. post. entry. before. midnight.

Okay -- I fixed the chronology of the photos...it is really 12:02 now.  

Today I did a lot of thinking, prepping, layouts, etc.  I worked on three projects and have a few things to show for it.  Here is how it went...

I want to make a few more postcards for the Paint Creek postcards sale/show.  I remembered this eraser carving I really like that I already had printed on nice handmade art paper.  I sprayed it with varnish to make sure the glue wouldn't make the ink run...that was then set aside to dry.
I hacked away at the head of this alligator toy.  I took off all of the alterations I put on it a long time ago (and was never very happy with) and started over...that is what prompted just cutting the old head off all together.  THAT was a long process and I had to keep coming back to it and turning it and sawing more, etc.  I finally broke through and it came off.  I was kinda "done" at that point.
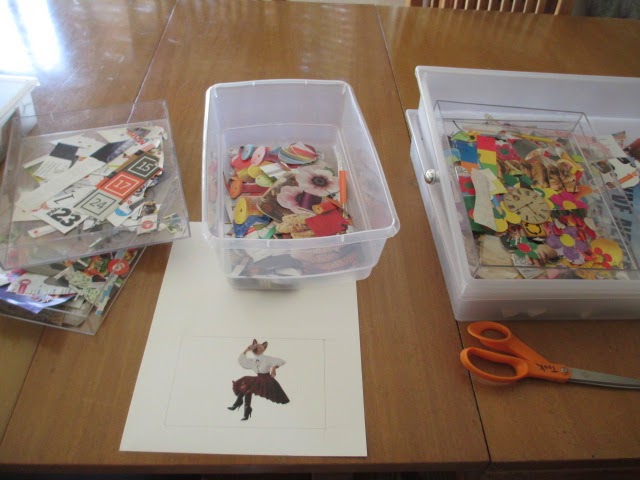
Then I went back to thinking about another possible postcard.  I knew I wanted to do an Animal People assembled cat girl that was too large for the Art-o-mat block as a postcard. 
I traced the 4x6 size onto Bristol board and started digging around for things she could be sitting on.  The main problem was that the item would also need to have something for her to be leaning her elbow on, not just sitting.  I like these colorful spools...but it was too far of a stretch for her elbow...she'd have to be leaning backwards to touch the one behind her and it even though I really liked the colors and dimensions, it just wasn't working for her elbow.
Hey -- a rattan chair...
...maybe.
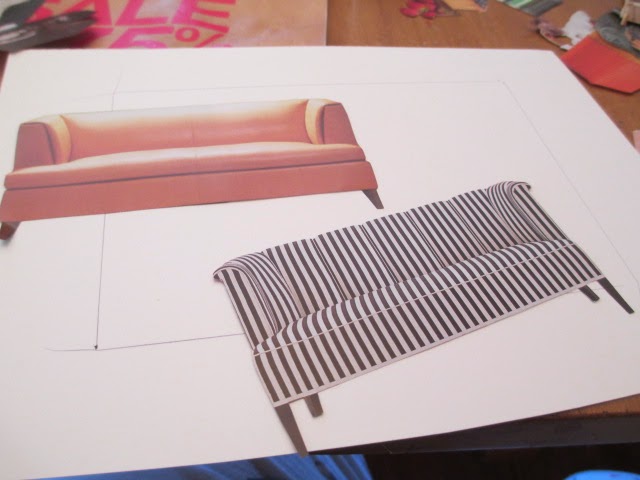
A couple of sofas...
...the leather one is just too plain...
I like the striped one...and I found a little dog, too.
Here is a possible idea...she is maybe thinking of what she wants to plant in her garden this season...not sure I will stay with this...not glued down yet.
Then I went back to the alligator toy.  I knew the new shape I wanted for the head...but how to make the transition from thick neck to new head?  I found a small section of cardboard tube that already had a few layers of plaster cloth and gesso.  It cut pretty easily with scissors.  I wanted to give it something to hold onto the body with.
Then I cut slits into the other end for the head parts to be inserted into for strength/stability.
I wanted to use very lightweight materials so that the plaster cloth won't be too heavy and push the head downwards.  I ended up not using the plastic lid.
I like the flatter head better...for now.
I put masking tape all around it and secured it to the toy body.  By this time I needed a break from this again.
I thought about how I could put the bear print onto the Bristol board and just went with the easiest/driest method...glue stick.
The back of the postcard (for now).
The front of the postcard (for now) -- I am happy with how close I got the edges...the carving is not exactly 4x6.
The tonight I decided I wanted to get some plaster cloth onto the alligator toy.  I took this small project out to the dining room table and worked on a plastic trash bag.  No time to take process photos...just the end results.
His new head -- so far.
The repaired section of tail...so far.
I couldn't get the two body sections to work with plaster cloth.  I am going to have to make the surfaces as smooth as possible (take away more of the old joining cloth) and try to epoxy the two halves together first...then put on the plaster cloth.  A project for another day.
How it is looking so far...not too bad.

Okay -- I finished the update/edit at 12:26...that is enough for tonight!


Tuesday, June 25, 2013

365/2013 - Day 176

t-shirts and a mannequin torso

My sister Sue brought over a huge box and a good-sized bag of t-shirts that she can't sell (for whatever reason or another) and also the mannequin torso she used to display them on.  I am very excited to get these art supplies!  The t-shirts are the color-changing ones -- with the heat from your body they go from like orange to yellow...or blue to pink.  I will cut them up and sew the strips together (or use whole sections maybe) and they will become new soft sculpture guys.  


The usually inviso-Sue with the loot/art supplies she brought me!
That is a LOT of shirts!
The last soft sculpture guy I made -- Quillz -- had a body made from strips of an old plain shirt of mine and color changing shirts.  His ears were also made from the color changing material.

So tonight I decided I wanted to get started on covering the mannequin torso.  I knew it was going to be a big project.  The torso is covered with a fabric that is similar to a men's underwear tank tap.  This thing has been around for quite a while and has been to many selling venues and has been in Sue's basement for a while.  It is a dusty and slightly beat up thing.  At first I planned to just cover the whole thing with plaster cloth so that I wouldn't have to look at it anymore or deal with the dust.  Ha.  I was thinking that the plaster cloth would take to the white fabric and make a stronger new skin.  Ha.  

What. a. mess.  

The fabric is not fully glued to the torso.  It slips and moves...making it difficult to smooth the plaster cloth onto it without a whole section of fabric/plaster cloth moving, and therefore not adhering.  I thought the plaster cloth would become one with it -- yeah, right.  PLUS, underneath the fabric, the torso is just made of cardboard layers -- it feels pretty strong -- but the bottom edge is really icky and there are splits in the seams (I am finding out as I work on it).  I will need to put many, many layers of plaster cloth onto this torso to make it hold up.  BUT it will work!!!  It is just going to take some time and a lot of plaster cloth.  I have both.


I drag so odd things into the wet plaster cloth studio.
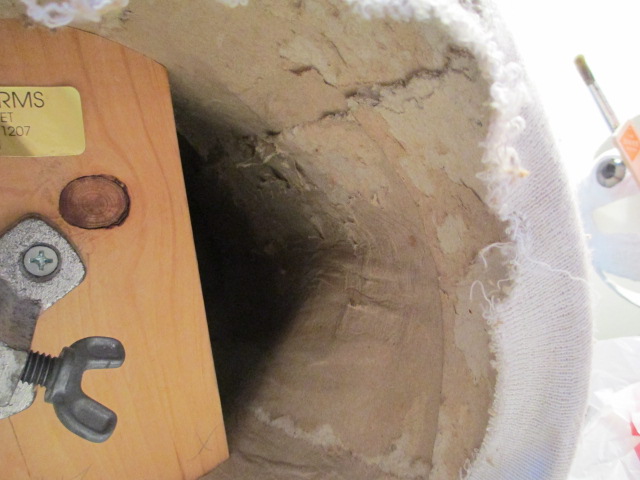
Inside of the torso before I got started -- when I still thought it would be best to cover the fabric with plaster cloth.
After I decided I better pull off as much of the fabric as I could.  Also not that great of an idea. 
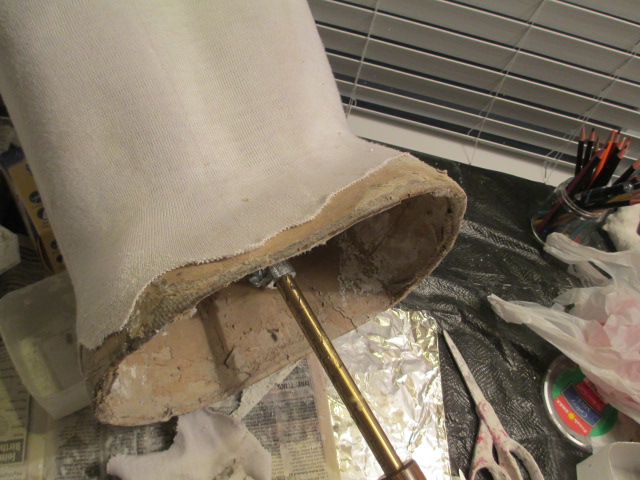
The inside of the torso after on sitting's worth of plaster cloth and smoothing.
What. a. mess.  I will make this work (eventually).


Saturday, February 9, 2013

365/2013 - Day 40

wow -- FULL day of work

I set a plan for myself for this weekend.  I know what I need to do and in what order.  This was a non-stop work day and I am glad it is over because I am really tired now.  LOL.

Today I focused on the Atomic Fireball Happy Hour guy, the manikin, and the marsupial guy.

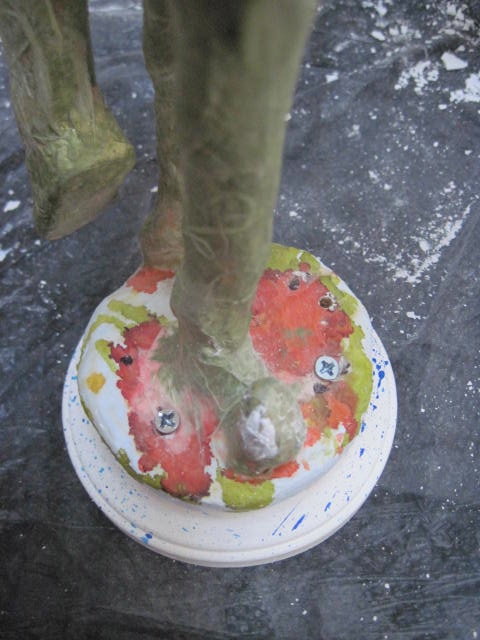
AFHH needed the most attention.  I had to go and get floor flanges and pipes for his legs.  When I got back home I went shopping in the basement and found the perfect base for him -- I came across a lamp I got from someone's trash pile during the summer.  I took off the electrical parts and knocked the base loose with my rubber mallet.  It took a lot of drilling with the Dremel tool and repositioning the flanges and trying again and drilling again and repeating all the steps but I finally got it right.  Now I just hope that the plaster cloth will cover the flanges -- they are rusting and the color is coming up through the plaster cloth.  It will just take extra gesso and paint but it will all work out.  What I am worried about is getting the plaster cloth to adhere to the flanges and wooden base and not crack at the seams.  I can always cover it all up with paper and then paint but I'd like it to work in the plaster cloth stage.

LOL -- look at all of those holes!


Then it was time to start thinking about if I really wanted him to have fingers or just give him rounded off paws.  I was hesitant to drill the wooden balls and I knew the holes would be close but what the heck -- I gave it a go.  I had a bag of wooden skewers left from another project and they were a pretty close fit with the holes that the Dremel made.


He looks so wacky -- like he has magical waves coming out of his hands or something.  Next it was time to choose a length for those fingers.


I set him aside and moved on to putting a base on the manikin.  He has that built-in base and he does stand up but the way I have him posed he is a teensy bit tippy.  If you just have him on a table top or shelf he is fine...but I was worrying that he could accidentally get bumped in a show setting so I decided to add the extra base.  It makes him more stable.  I am just not terribly skilled at drilling and I didn't want to mess up what I had already done to him.

figures, doesn't it???  just that much too long!


Okay -- time to start the plaster cloth!

The clutter and mess on the table was driving me nuts so I cleared it off, changed the table coverings, and started fresh.


I was not looking forward to keeping track of all of those fingers -- they go in specific holes because my drilling is so uneven.  Then it dawned on me that I could leave them in place and work on each finger, one-at-a-time style.  Duh.


Now...on to blending/covering the flanges and attaching them to the base.


That was a very lengthy process...and a very wet and messy one, too.  I cleaned it up and set the whole thing aside to dry (partially) overnight.  I will try to do more with it tomorrow...at least see what else I can do with it.  For now, I am happy with the progress.


Next it was time to put the two bases together on the manikin...another wet and messy job that will need to sit overnight.


Last (for today) -- I needed to add an inside seam to the marsupial's pouch.  I can't get my hand all the way down to it so I had to poke at it with longer, reachy things...scissors, Sharpie, etc.  I got the seam done but it isn't as smooth as I'd like it.  I may try again tomorrow to smooth it out.  I also worked on the bottom edge of the torso/column.  This is another let it dry overnight project to see if the seam is going to crack.  Again, I can find workarounds for it but I would prefer it to be taken care of in the plaster cloth stage.  Tomorrow I also need to give most of the entire marsupial guy more layers of plaster cloth just to toughen and strengthen it.


 And here are the three guys resting for the night.


Whew -- I didn't feel it at the time, but now I am really glad I stopped work when I did.  I am BEAT.


Related Posts Plugin for WordPress, Blogger...